How to Clad Your House (with photos)
Busy works in Washington as Will and Rob clad a row of houses on Rob’s street in some dazzling cedar.
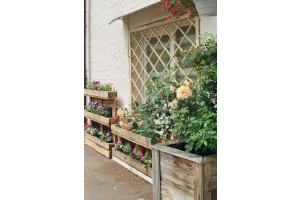
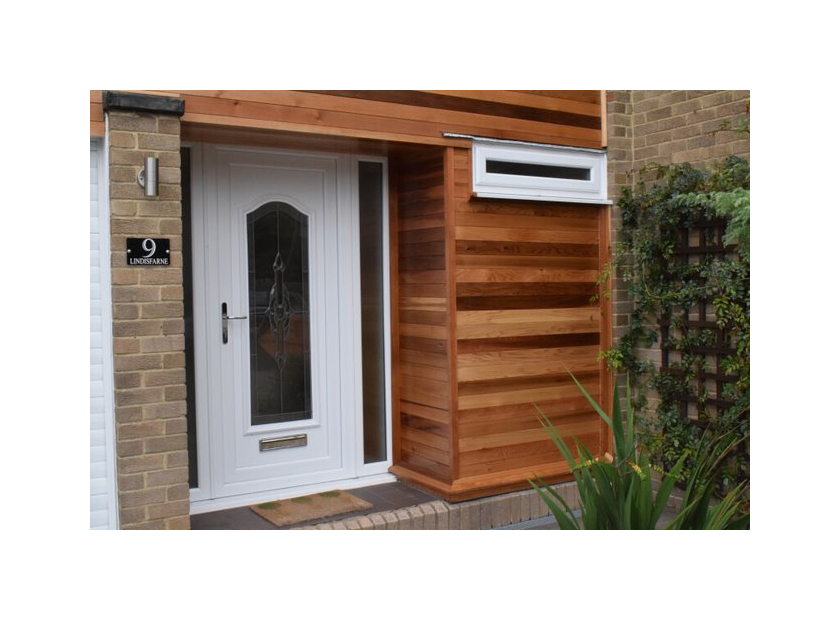
Cedar cladding can make any home look brand new.
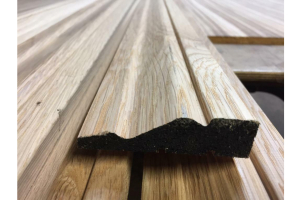
Recladding can really make your home stand out, and is an investment which will improve your property value, especially when using cedar due to its striking grain and hue. V-jointed cladding is a great option for cladding: its jigsaw-like tongue and groove edges, this makes for easy fitting, additional structural integrity and optimal insulation. Quay Timber also offers cedar log-lap and redwood shiplap/spooned weatherboard cladding for an alternative effect. Keep reading for an 8 step guide to cladding your house.
Stand out on your street!
Here’s how to clad your house in cedar.
1. To clad a house, first the wall should be prepared for the fitting, any original cladding should be removed and the wall behind cleared of any debris which accumulates over time, this will make attaching the new boards easier down the line.
Scaffolding is a must for a safe work environment.
2. Replace any old or rotting lats behind the cladding. Thin strips of wood running down the wall of your house (called lats or battens) can be used to fix the cladding boards. Treated 25 x 50mm slaters lats are ideal for this purpose.
3. Staple a breathable water-resistant membrane to the lats. This will protect the wall behind, add additional insulation and water resistance whilst still allowing the wood to breathe, preventing wood-rot.
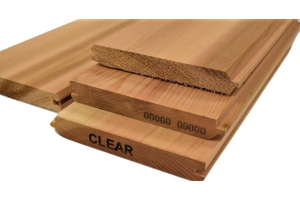
Cedar tongue and groove cladding boards in various lengths from Quay Timber.
4. Boards can be bought in various sizes to reduce wastage and cut at specific lengths in a ‘brickwork’ pattern to achieve a staggered effect. Quick cutting can be done at Quay Timber for a small service charge or on-site the old-fashioned way!
A circular saw can save a lot of time and effort in cutting.
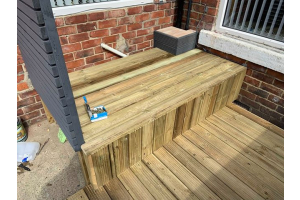
5. Level the first line of boards using a spirit level and continue to check this as you build upwards. Slot each board into eachother and tap them down to ensure a tight seal.
Fix the first line in place and build up from there!
6. Hammer the boards to the lats using M4 40mm stainless steel nails. You should wait until a few rows of boards have been added before fixing them to allow flexibility when adding rows on top. *quick tip - Ensure the first line of cladding boards are at least six inches above ground level to prevent contact with wet ground.
7. An angle bead can be used to finish the edge of the cladding as a cushion corner. This will clean up any uneven or rough sawn edges.
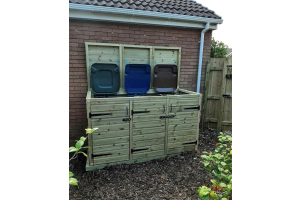
Once your cladding is on your home will be transformed.
8. Once your cladding has been installed, apply a coat of UV Protection Oil from Osmo to protect your cladding from the elements, fungus, algae, insects and preserve the quality of the colour. This should be reapplied twice a year, before and after the summer season for optimal protection.
If you’d like a quote on cedar cladding, or any further advice on how to install some, contact Quay Timber today!
A finished cedar clad house.